I am not the best baker. I would actually consider myself a below average baker. Of course, I have random sparks of inspiration where I binge calming baking videos and contemplate spending gross amounts of money on cake pans… but those phases have never lasted long enough to start denting my wallet. Today, everything is changing (except I will only use the ingredients already present in my home): I will start my baking journey with a classic—sugar cookies.
For reference, I will be using a recipe from Sally’s Baking Addiction found here.
Step 1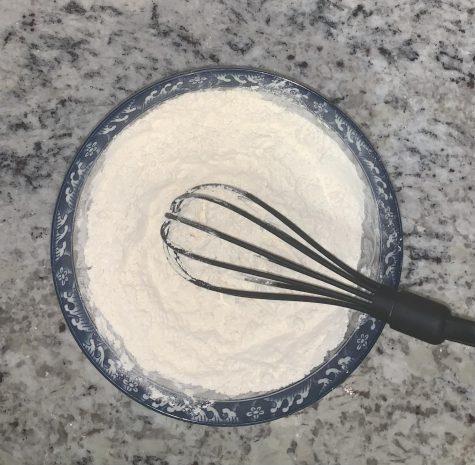
“Whisk the flour, baking powder, and salt together in a medium bowl. Set aside.”
This was easy enough. Even though I had to guess how much ¼ cup of flour was due to my lack of proper measuring cups, I think I completed this step perfectly.
Step 2
“In a large bowl using a hand mixer or a stand mixer fitted with a paddle attachment, beat the butter and sugar together on high speed until completely smooth and creamy, about 2minutes. Add the egg and vanilla extract and beat on high speed until combined, about 1 minute. Scrape down the sides and up the bottom of the bowl and beat again as needed to
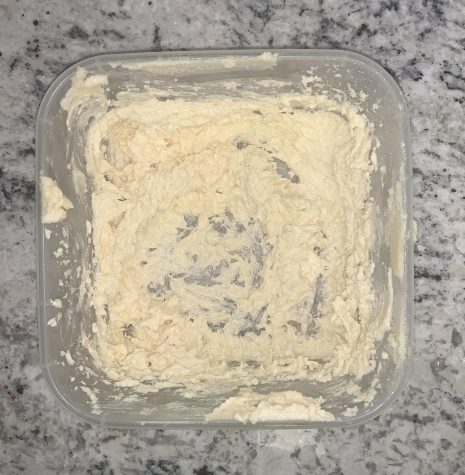
combine.”
Unfortunately, I don’t have a paddle attachment but my handy hand mixer was efficient. I also didn’t feel like waiting for my butter to soften (it smelled odd) so I microwaved it in the
microwave for around ten seconds (twice). Overall, everything continued to move smoothly, and at the end of this step, I was fully intact with only a slightly aching arm.
Step 3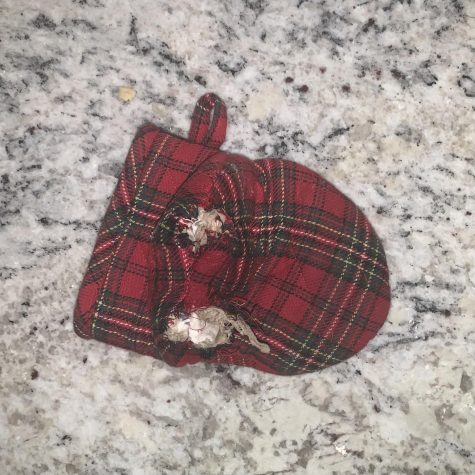
“Add the dry ingredients to the wet ingredients and mix on low until combined. Dough will be relatively soft.”
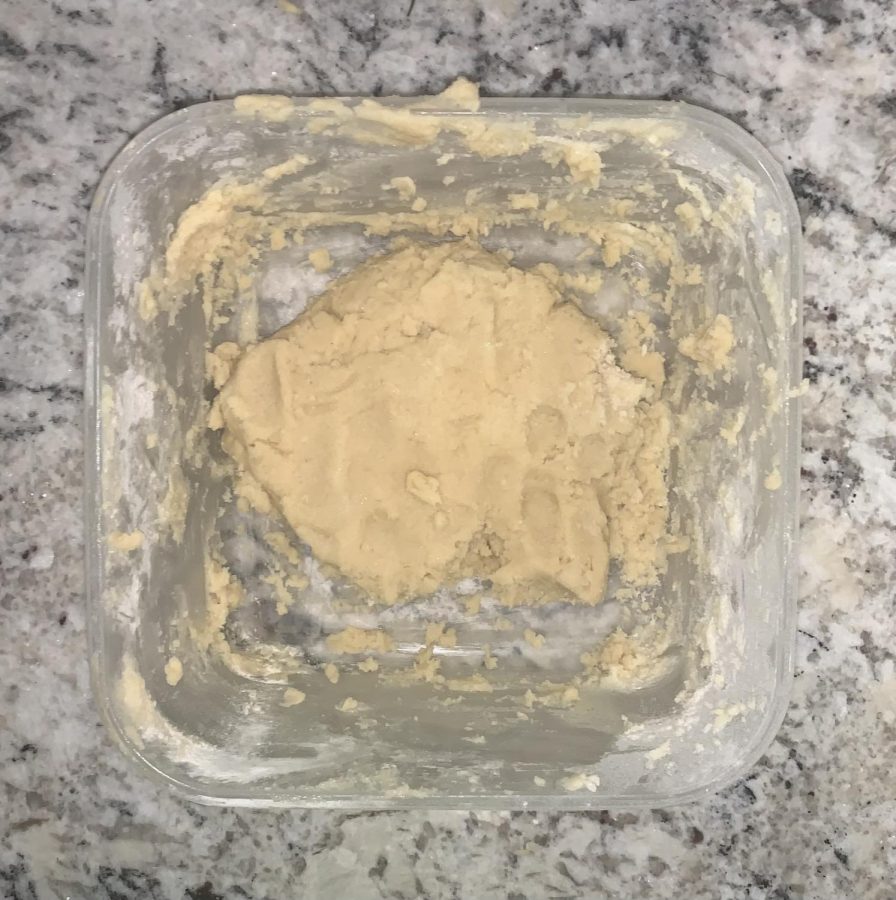
Before I poured even a single grain of flour into my large bowl, I realized that one of my dogs had been chewing on an oven mitt since I’d started my project. This event doesn’t really relate to my progress but I thought it was sort of funny. Anyway, the dough turned out to be a lot more sticky than I thought it would be. I considered adding flour but decided to stay true to the recipe instead.
Step 4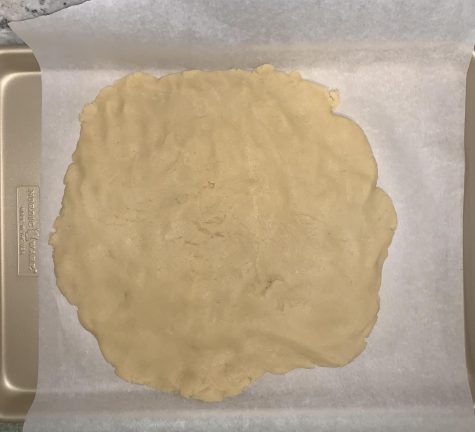
“Divide the dough into 2 equal parts. Place each portion onto a piece of lightly floured parchment paper or a lightly floured silicone baking mat. With a lightly floured rolling pin, roll the dough out to about 1/4-inch thickness. Lightly dust one of the rolled-out doughs with flour. Place a piece of parchment on top. Place the 2nd rolled-out dough on top. Cover with plastic wrap or aluminum foil, then refrigerate for at least 1-2 hours and up to 2 days.”
I didn’t follow these instructions exactly since I felt like they overcomplicated a pretty simple concept. But this is where disaster struck. Turns out I didn’t have a rolling pin (or didn’t feel like looking for one, perhaps). I resorted to smushing the dough onto some parchment paper and covering it in saran wrap. Then I waited one entire hour.
Step 5
“Once chilled, preheat oven to 350°F (177°C). Using a cookie cutter, cut the dough into shapes. Re-roll the remaining dough and continue cutting until all is used. Repeat with 2nd piece of dough.”
Ok, turns out the cookie is rock hard because I put it in the freezer instead of the fridge. Also, I have no cookie cutters. I ended up cutting out cookie shapes with a knife and using my hands to make them look semi presentable. I also forgot to photograph this step (thankfully).
Step 6
“Arrange cookies on baking sheets 3 inches apart. Bake for 11-12 minutes or until lightly browned around the edges. Allow cookies to cool on the baking sheet for 5 minutes then transfer to a wire rack to cool completely before decorating.”
Easy peasy. I ate some of the cookie dough and it tasted promising. I also used the oven mitt that my dog had chewed up.
Step 7
“Decorate the cooled cookies with royal icing or easy glaze icing.”
I planned to create these cookies frosting-less since I lacked the ingredients to make proper royal icing. We’ll see if I regret this choice.
Step 8
“Enjoy cookies right away or wait until the icing sets to serve them. Once the icing has set, these cookies are great for gifting or for sending.”
I’m underwhelmed. The cookies tasted ok, but there wasn’t anything special. Personally, I would’ve also liked the flavor to be sweeter but I guess that’s why I shouldn’t have skipped the frosting. It’s alright though, I’d give this experience a 6/10. Also, no photos since the cookies ended up looking horrendous. Sorry.
From a future Great British Bake Off competitor,
Olivia Hu


